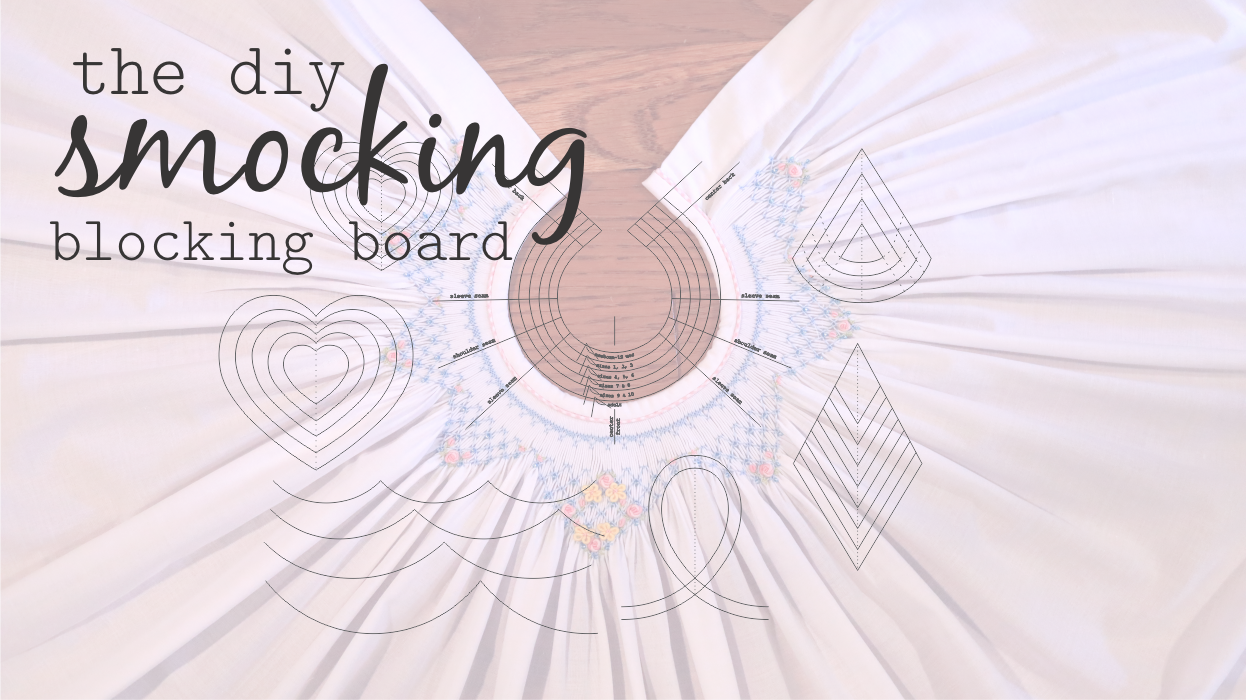
all the tricks and tools you need to perfect your bishop

1. pattern
first things first, you're going to need a pattern.
there are two routes to take with this:
1. a traditional pattern with shoulder seams
(popular options are from children's corner, ellen mccarn, and creative needle.)
2. my new pattern that revolutionizes how bishops are put together...
coming soon!
each have their pros/cons. and you may want
both options in your sewing room depending on the project.

2. tools to pleat
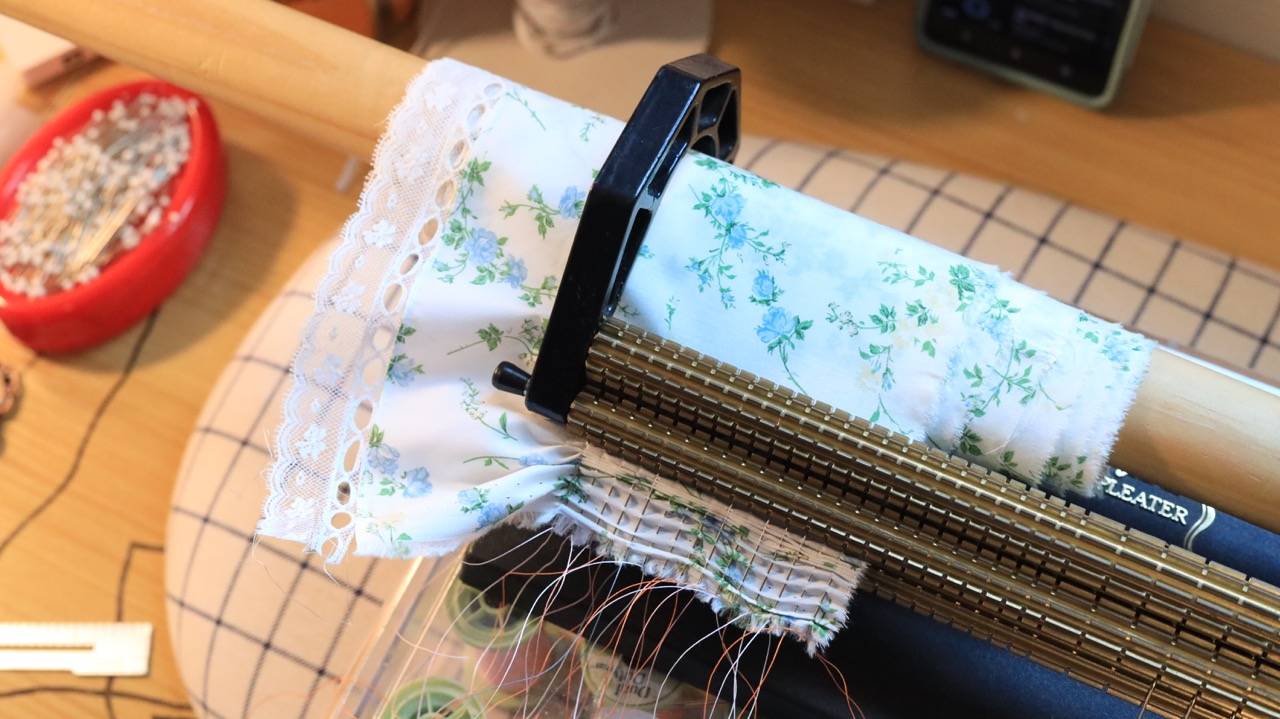
you can either pleat by hand (using a dot method or choose fabrics that have a built-in grid system) or by using a smocking pleater (and you'll need pleating needles). either way, I'd recommend hand quilting to use for your pleating threads.
3. tools to block
but here are three ways to get a blocking board, simply purchasing one that is already assembled, buying a pellon blocking guide, or using my pdf download to go the diy blocking board route
4. keep those pleats in place
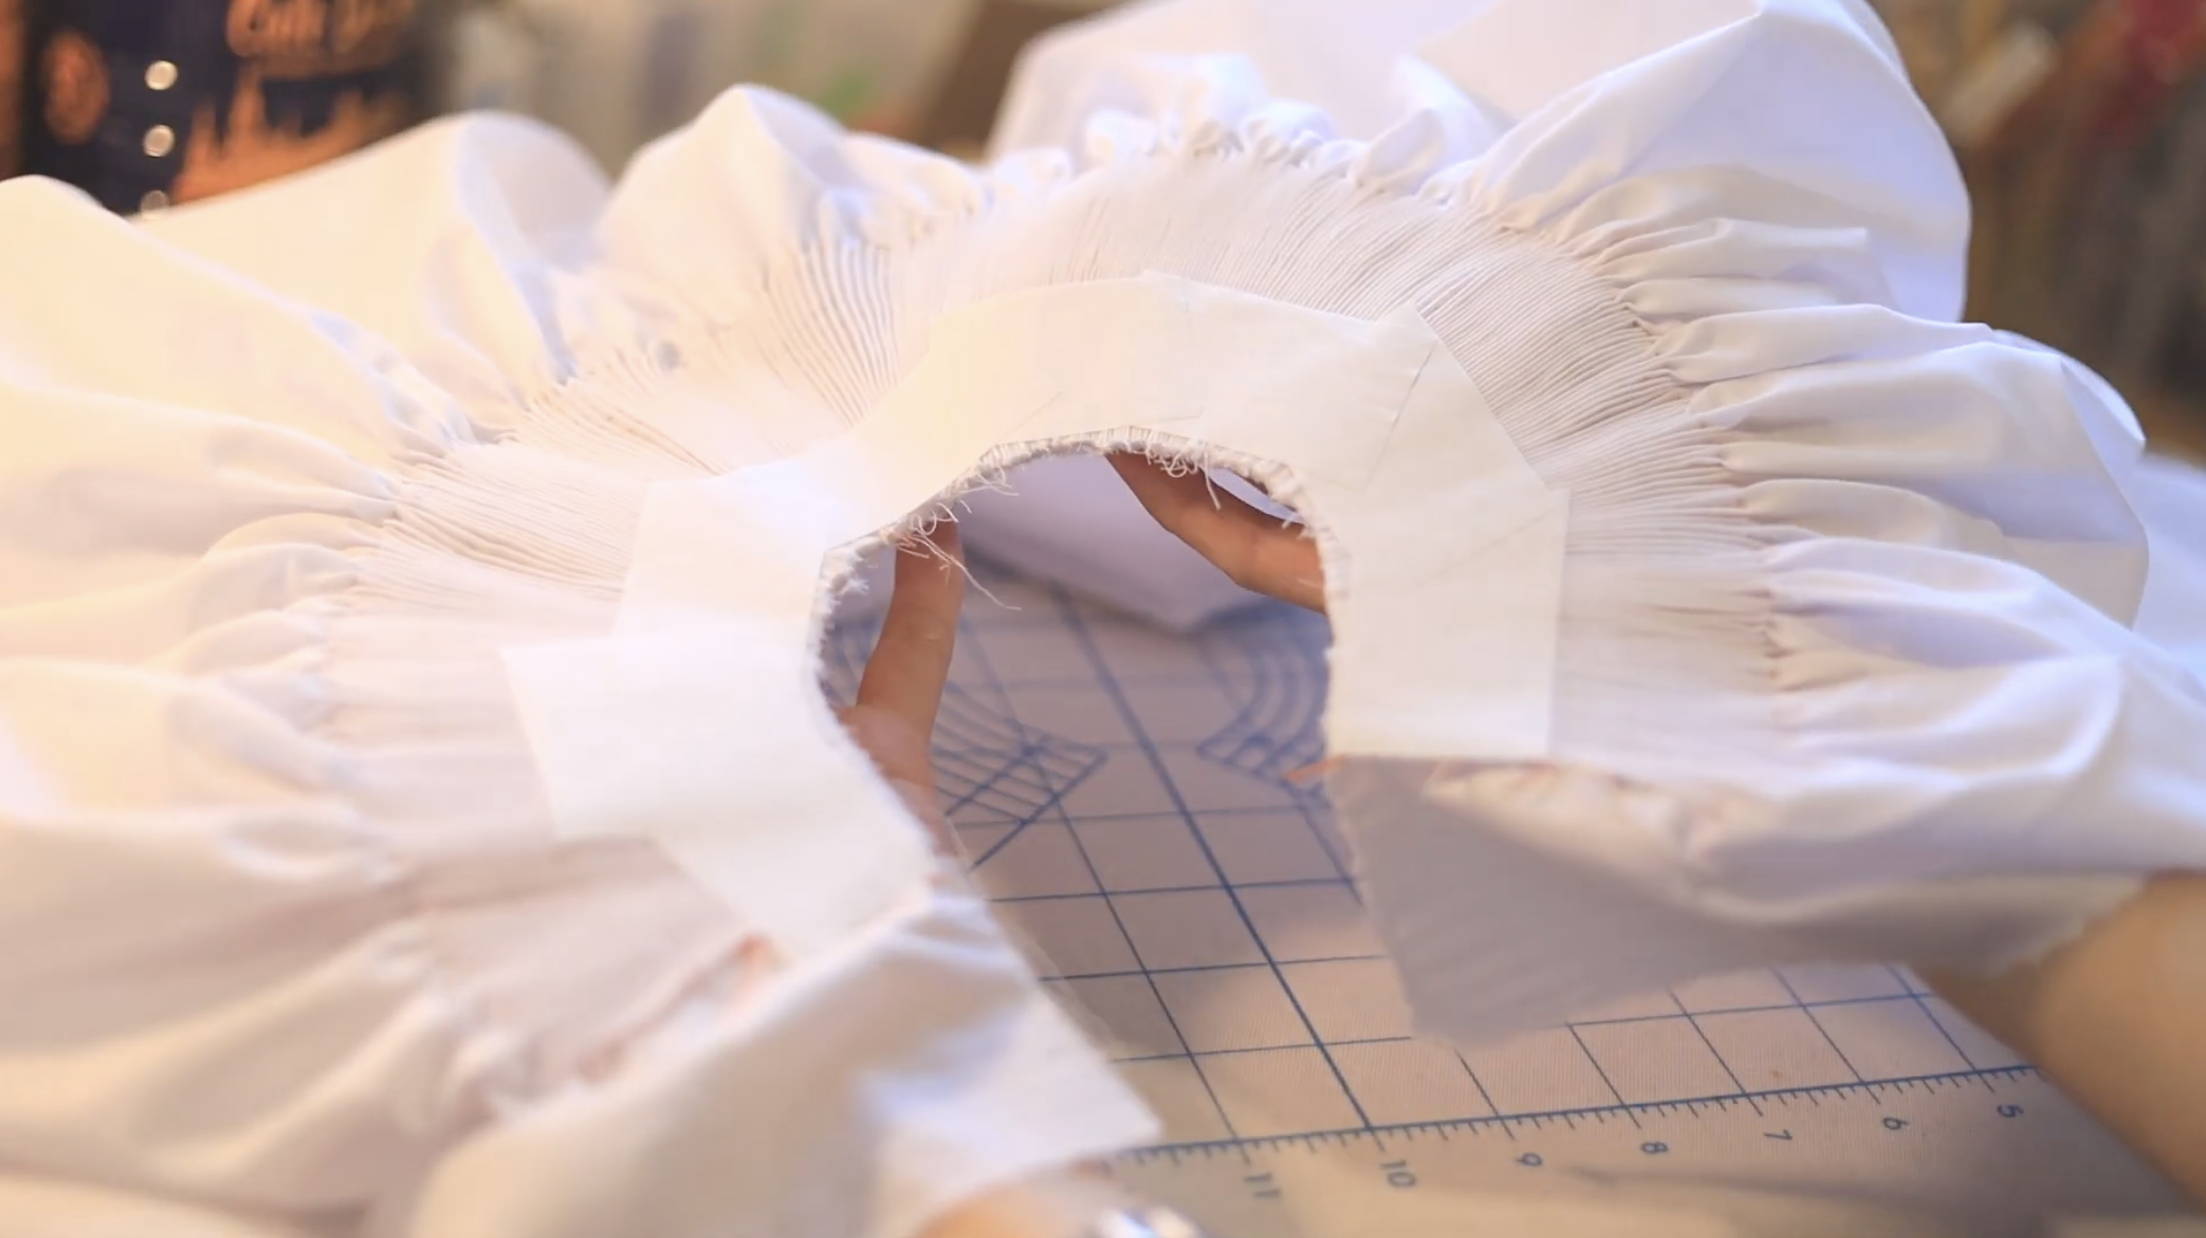
for the fastest solution, I reach for freezer paper, but if I'm in the mood to carefully stitch away while sipping on tea, then hand basting is a relaxing choice.
I personally don't find the glue pen to be strong enough for this situation,
but by all means, if it works for you, go for it. after all, it's sewing, you do you! 😘
5. securing the pleats
sew over your pleats somehow via your sewing machine. you can take this in a two-step approach, I guess. if you went that way, your first step would be to simply stitch over the freezer paper/hand basted pleats with your sewing machine. this is an optional step, but may relieve some anxiety. it's basically machine basting your pleats into place, which adds a layer of security.
then you can take whatever you'd like to finish the neckline and sew that around the neckline. this will also secure the pleats into place.
this second step can include sewing piping along the neckline and then finishing it with your fabric bias band. the fabric bias band is the only way I've seen bishops completed in a neat fashion, and the piping step is optional.

