warning... while I'm not naive enough to believe this is an original idea, I also haven't seen it done before,
nor have I consulted anyone who actually knows something about garment construction. so enter at your own risk 😘

what makes the one fabric bishop special?
the standard way of creating a bishop requires assembling four to five separate pieces of fabric.
the image to the right doesn't show the necessary sleeves pieces.
but, this poses some challenges since bishops are pleated to be smocked.
the main challenge is how to pleat around those shoulder seams.

see, smocking pleaters don't like to roll through chunks of fabric (aka a seam). and if your seam is too large, your needles break, leaving you with an expensive mess and an unpleated bishop...
one way to solve this challenge is to join your pieces with 1/16"-3/16" wide french seams ...a little tricky, and you still have to position the seam correctly as it enters the pleater, but alas, it's a solution.
another way to solve this challenge is to pleat your pieces together before you create any seams. I know, magic! this is my preferred method for creating a traditional smocked bishop, and I've linked my tutorial.
however, there are two routes you can take with this bishop revolution that will eliminate all shoulder seams as well as side seams if you so choose 🥳 sure, this is a better experience when pleating your fabric, but it's also a beautiful result since your fabric is continuous and fluid. there isn't a line of a seam bothering your eye leading to distraction from your beautiful smocked creation. I just love it!

method 1
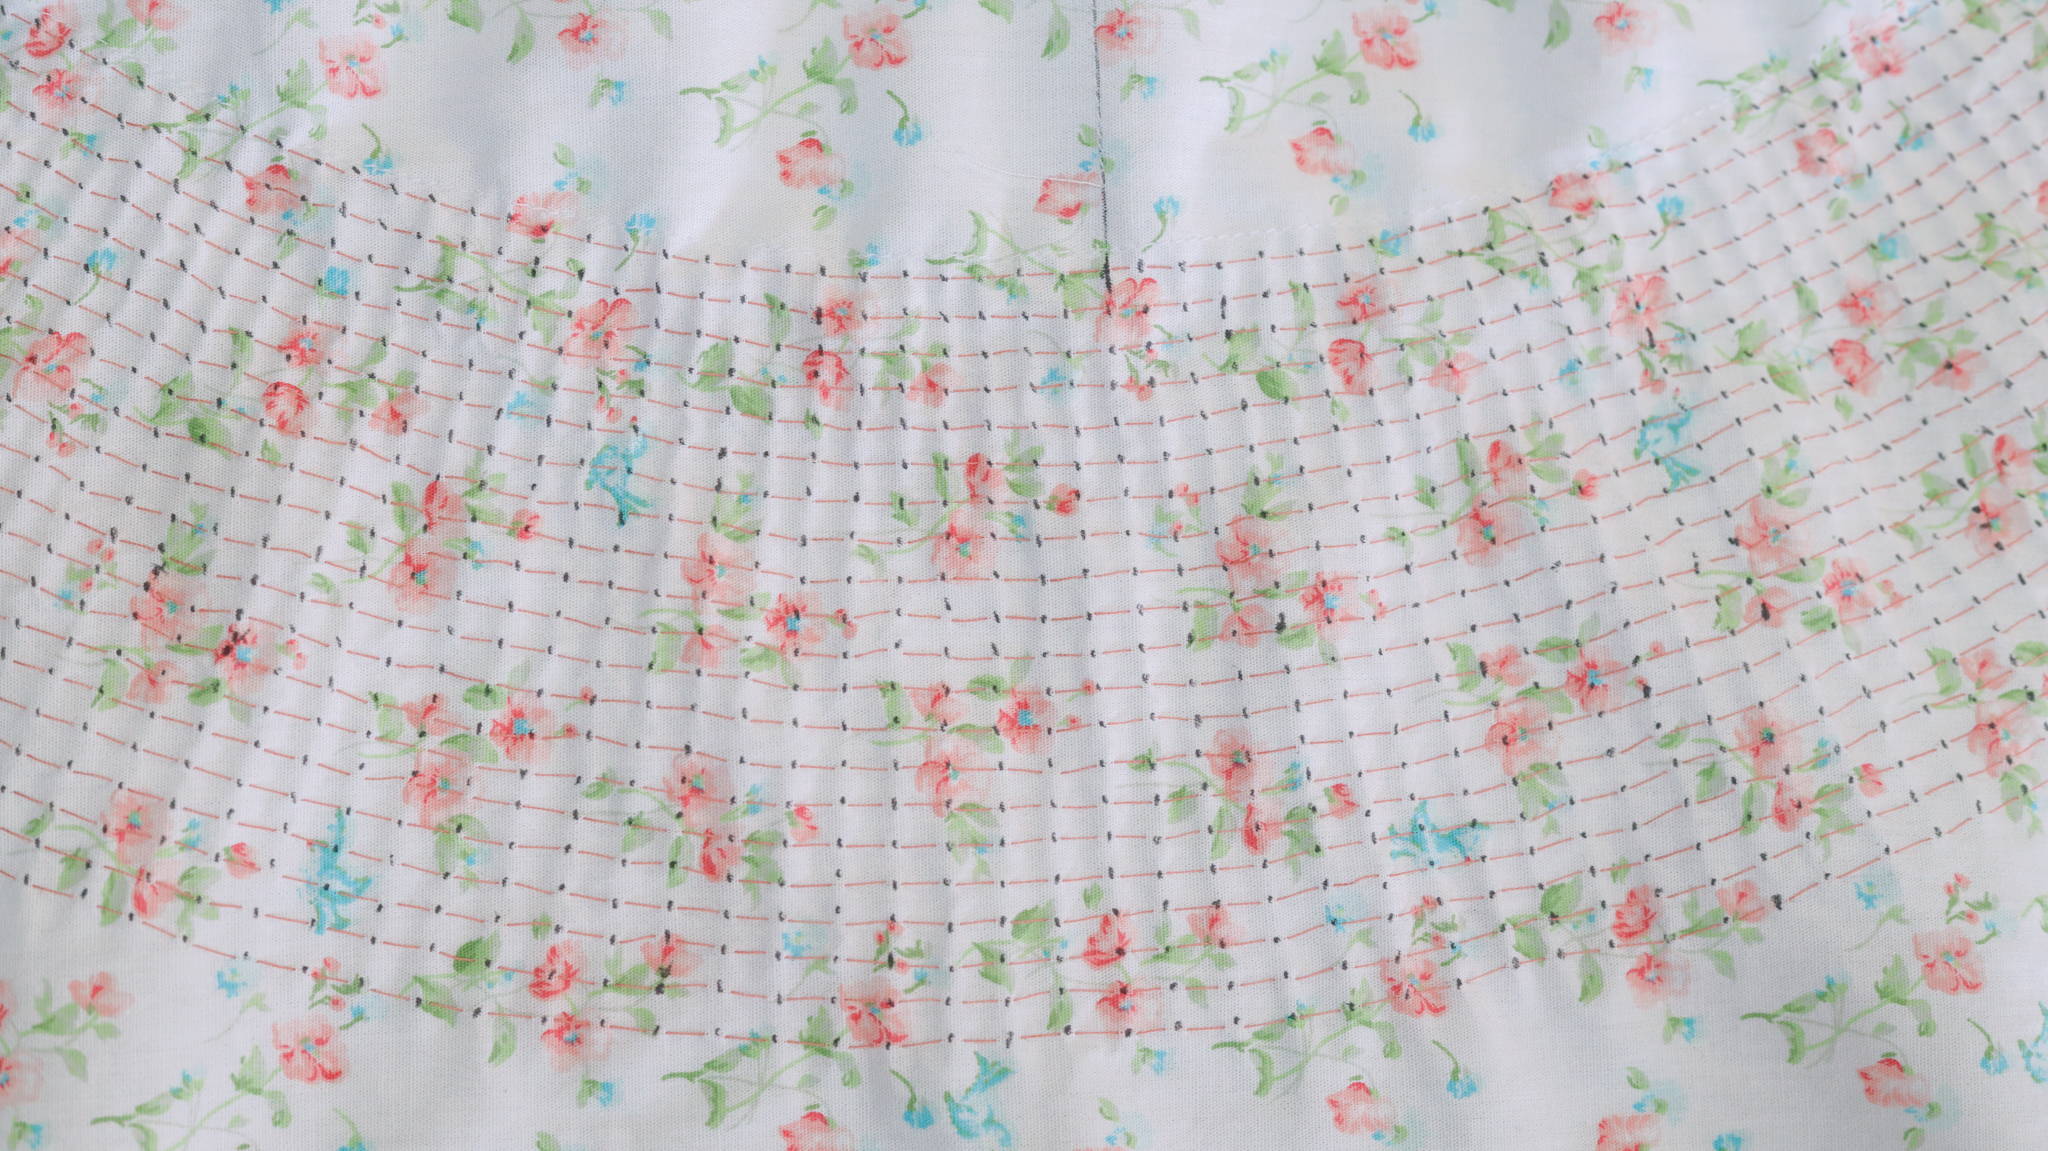
this method takes a rectangular piece of fabric (although you could cut in a circular hem if you desire 🐿️) and you pleat it as is - yes, no seams!
from there, you have several options on how to cut in various styles of armscyes. while I love the whole bishop revolution pattern, I think the traditional smocked bishop route has a little leg up when it comes to the sleeve situation. yes, they are still pretty on the bishop revolution routes, but that's just my two cents.
the sleeve options can be finished with lace, fabric bias bands, a rolled hem, embroidered scallop hem... you get the idea!
and the option to omit the side seam just makes my heart so happy! interruption in your fabric or line distracting your eye from your beautiful smocked bishop.
this method can be constructed to have a front or back facing, or a placket with a seam.


method 2
meanwhile method 2 really takes things to the next level since it eliminates the need for any opens or seams aside from a placket. this placket can be placed on the shoulder or back.
...and yes, in the photo, the bishop is on backwards, so the placket's opening should be facing towards the back 🤷♀️